dimanche 21 juillet 2013

how make Typography Wallpaper in Photoshop

We have accepted some tutorials from readers and we think it's really good to open the blog, so anyone can share their skills with the community. Because of that, we will start the "Reader Tutorial" series. If you have or want to write a tutorial and publish it here on Abduzeedo, just send it via email to us. Thank you very much and enjoy our first tutorial from Jonathan Connolly.

Hey guys this is Creative Volition, an advertising and design agency based out of South Florida. Just a quick thanks to Abduzeedo for being such a great help to the design community. Also a special thanks to everyone at Creative Volition for making our design agency what it is today.
Here is a quick tutorial from one of our latest designs. Hopefully this tutorial can benefit in your pursuit of becoming a better designer.

Step 1

Create a new document at 1200 x 800 pixels with a resolution of 72dpi. Start off by importing all of your vector designs separately into a Photoshop canvas. In this case we divided our vectors into 3 separate smart objects and dragged them into the Photoshop canvas.

Step 2

Hide all vectors and create a new text box. In this case I typed out the name of our company, "Creative Volition Inc.". The font we chose was "ITC Avant Garde Gothic". Keep your font in full caps, especially if your using this one! Continue to copy/paste your text across the text box.

Step 3

Text settings: 16pt font, Regular, 16pt height spacing, Color #404040.

Step 4

Continue to copy/paste the text until it fills the entire canvas. Stretch the box out using the text tool until it expands beyond the canvas size.

Step 5

Once the text box is filled completely with the copy begin to rotate the box clockwise in about a 45 degree angle.

Step 6

Make one of the smart objects visible. Command/Apple click the preview box on the layer panel to create marching ants around your object.

Step 7

Once the marching ants appear, hide your smart object so you can see the selection.

Step 8

Rasterize the type layer and with the marching ants active on your rasterized layer click Edit > Cut.

Step 9

Then click Edit > Paste and align your new layer so all the words connect. Open the Layer Style box and change the "Color Overlay" to white.

Step 10

Continue to do the same procedure with your other smart object layers but make sure to always cut from the rasterized layer.

Step 11

Lastly create a new layer and fill it with any color. Place this layer on top of all other layers. Drop the fill down to 0%. Open the Layer Styles box and change the inner glow to the following settings and click OK.

Conclusion

Thats it! You should now have a beautiful design in front of you.
Please drop us a comment and let us know what you think? Thanks again guys.

About the author

Abduzeedo is a blog about design. There are all sorts of articles for those who want to look for inspiration. Also you will find very useful tutorials for the most used applications out there, with a special selection of Photoshop Tutorials and Illustrator Tutorials. Of course there are other softwares conteplated like Pixelmator, Fireworks, and web design tutorials.
Read More

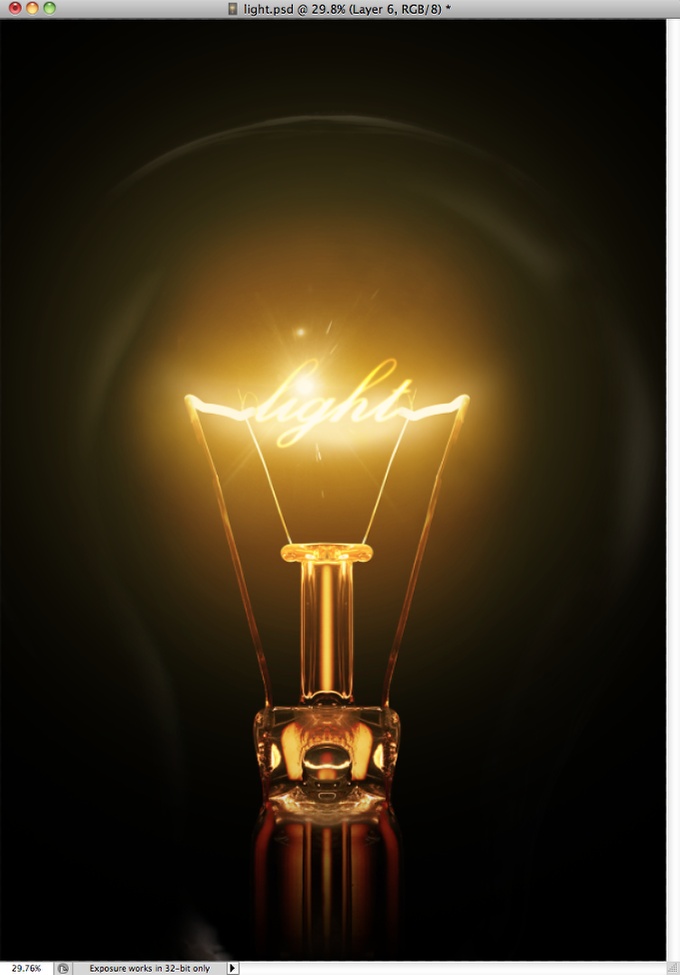
Classic Light Effect in Photoshop

Light effects are my favorite type of effect, I don't know why but I always liked to play around in Photoshop trying to recreate them. Then once I discovered the power of the Blend Modes, especially the Color Dodge, creating this effects became much easier. 


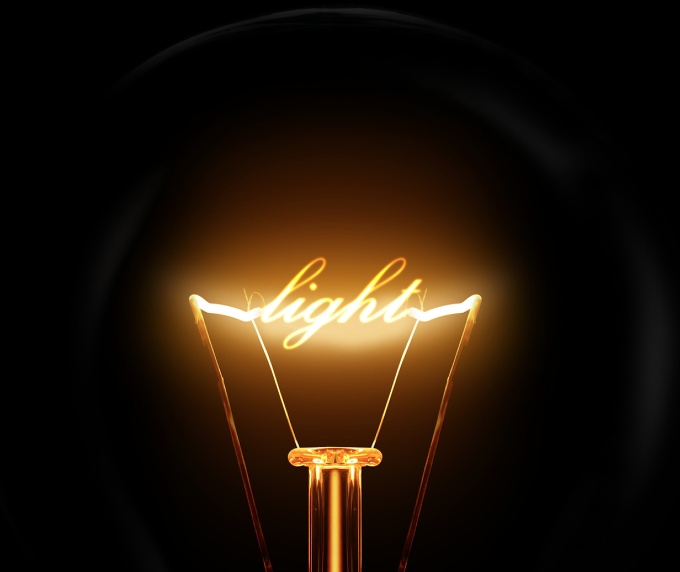
So in this tutorial I will show you how to create a super cool text light effect mixing some photos to give more realism. The cool thing about this effect is that the whole process is very simple and quite easy.

Step 1

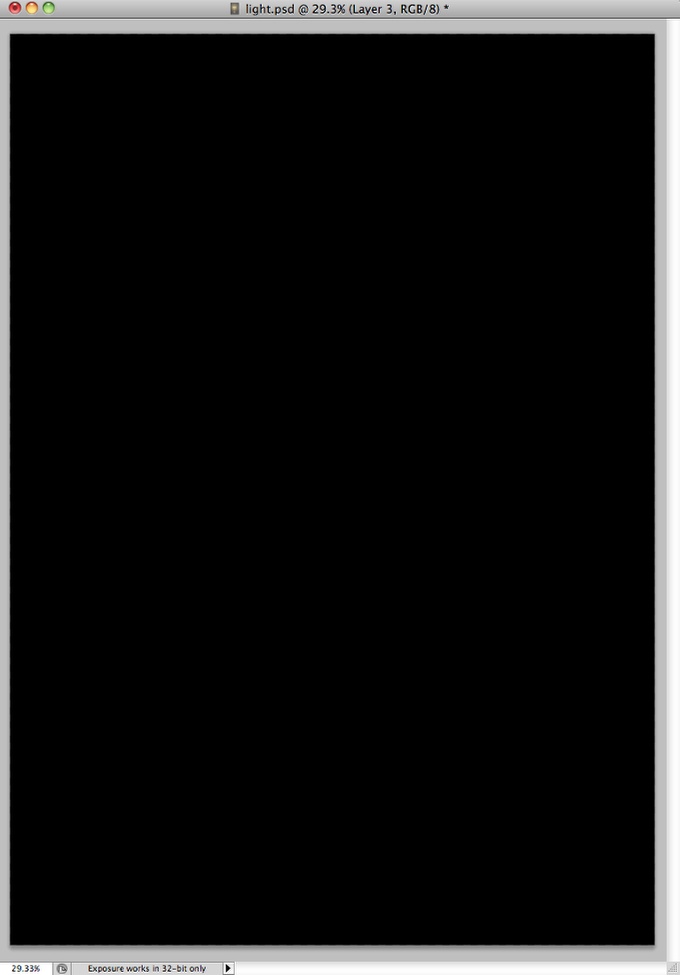
Open Photoshop and create a new document, after that make sure that the background is in black.

Classic Light Effect in Photoshop

Step 2

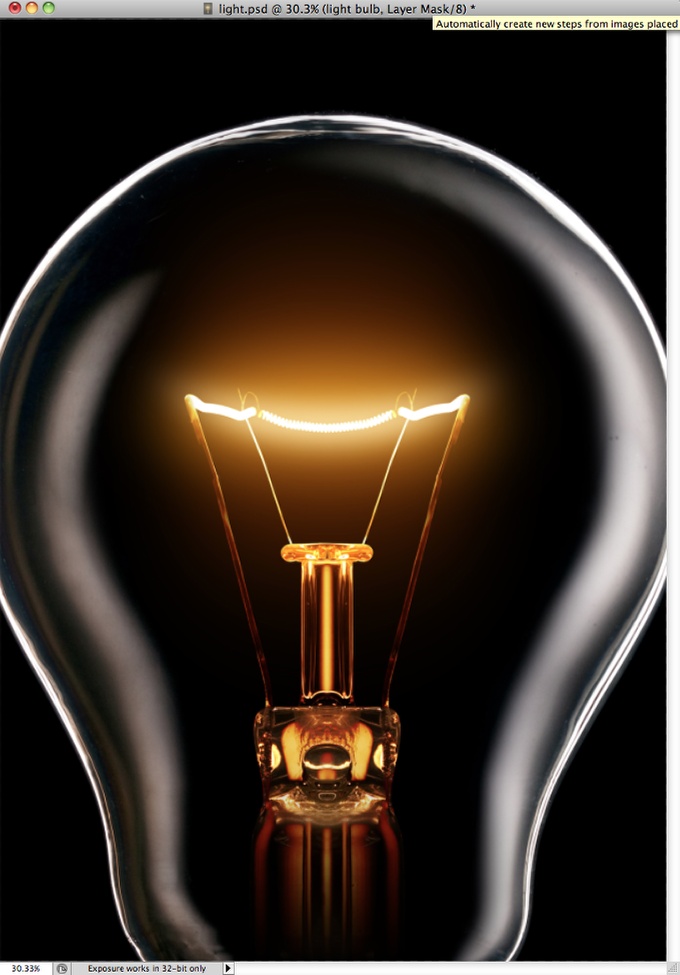
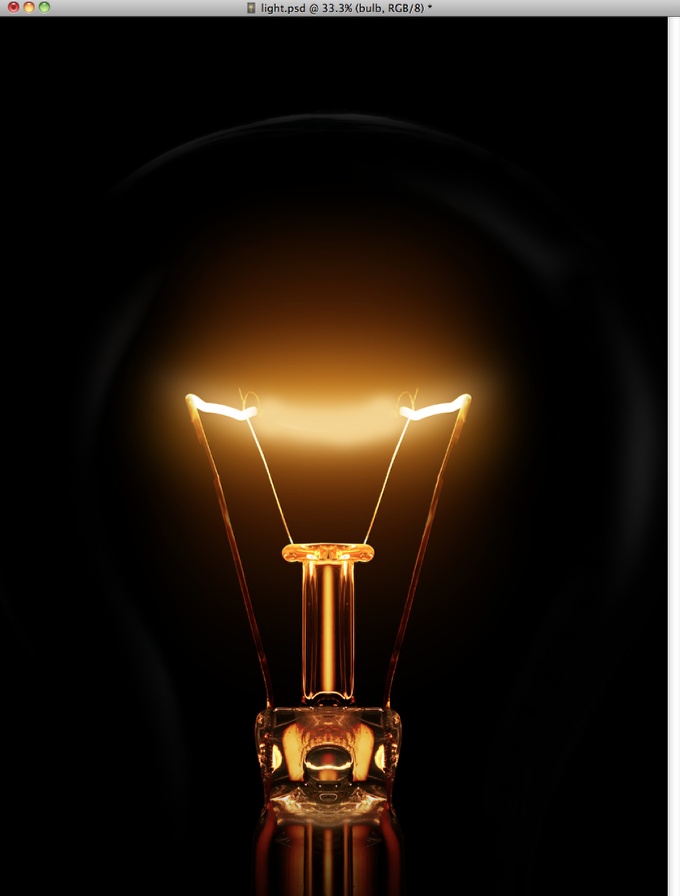
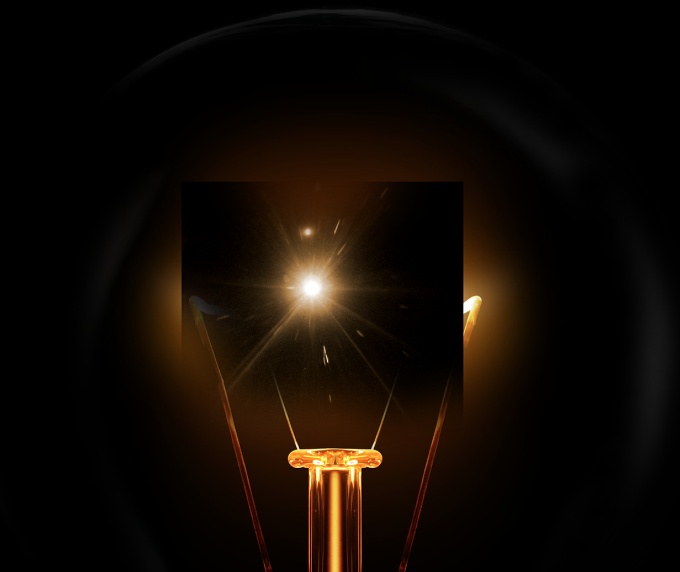
To make the effect more realistic let's use a stock photo, the one I am using is courtesy from Shutterstock and you can find it at http://www.shutterstock.com/pic-24939406/stock-photo-glowing-lamp-on-bla.... Place the image in the center of the document but make sure that the filament area is big engouh.
Classic Light Effect in Photoshop

Step 3

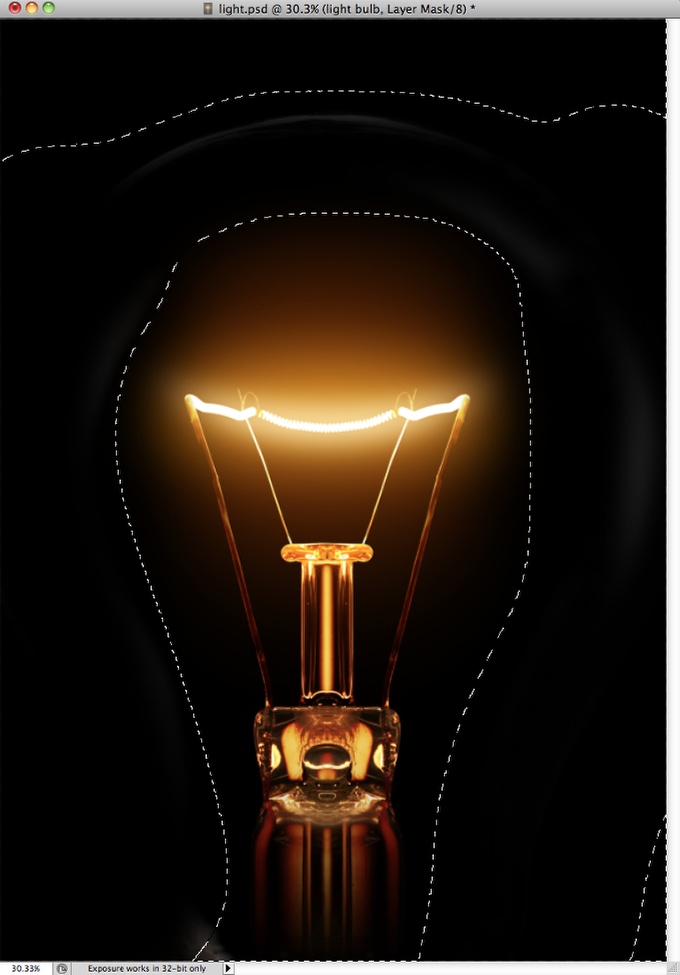
Go to Layer>Layer Mask>Reveal All. Then with the Brush Tool (B) select a very soft brush (0% hardness0 and black for the color. Start paiting the areas of the light you want to hide. Use the image below for reference.
Classic Light Effect in Photoshop

Step 4

Now let's delete the filament area where we will add the text with the light effect later on. To do that is pretty easy, with the Eyedropper Tool (I) select the color of the area you will paint, the with the Brush Tool (B) and a very soft brush, start paiting over the filament. Note: I added a new layer instead of painting over. Another tip is if you are using the Brush Tool (B) you can just press Alt to use the Eyedropper Tool.
Classic Light Effect in Photoshop

Step 5

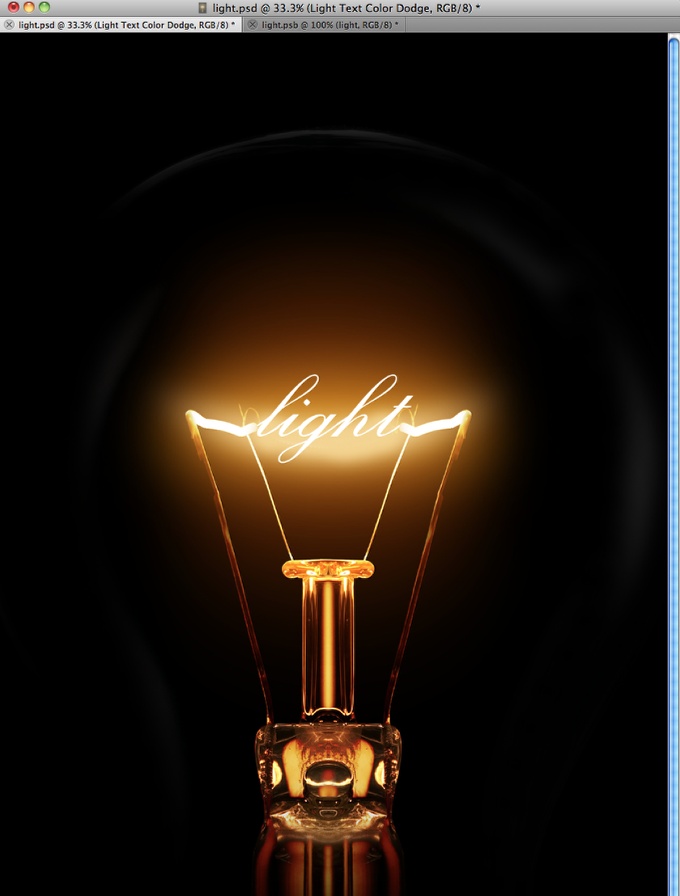
With the Horizontal Type Tool (T) add the word light in white. I am using Exmouth for the font, you can download it here http://www.dafont.com/exmouth.font. For the size I am using 82 pixels but the size will depend on your document size. After that add a new folder in the Layers Palette and change the Blend Mode of this folder to Color Dodge. Move the light text into the folder you have just created.
Classic Light Effect in Photoshop

Step 6

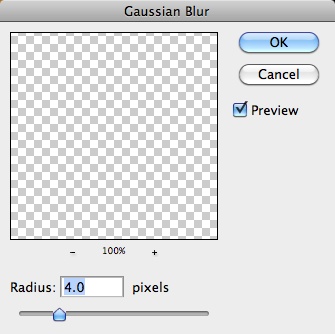
With the text selected go to Filter>Blur>Gaussian Blur. Use 4 pixels for the Radius.
Classic Light Effect in Photoshop

Step 7

Because the white text is inside the folder with the Color Dodge, the effect will be the same as if the text layer had a black background. You can see that the edges get sort of blended with the background creating a perfect light effect.
Classic Light Effect in Photoshop

Step 8

Again to add more realism, instead of creating a lens flare in Photoshop we will use a real photo. The one I am using I found in Google Images and you can find it here http://web.williams.edu/astronomy/IAU_eclipses/jmp_eclipse03_04.jpg.
Once you imported the photo the first thing to do is delete the areas that you won't be necessary and keep just the flare. After that go to Image>Adjustments>Desaturate.
Classic Light Effect in Photoshop

Step 9

With the flare layer already desaturated, just change its Blend Mode to Screen. Screen is a very useful Blend Mode because it turns what is black into full trasparency the grey scale becomes a transparency level, so it's perfect to create light effects.
Classic Light Effect in Photoshop

Step 10

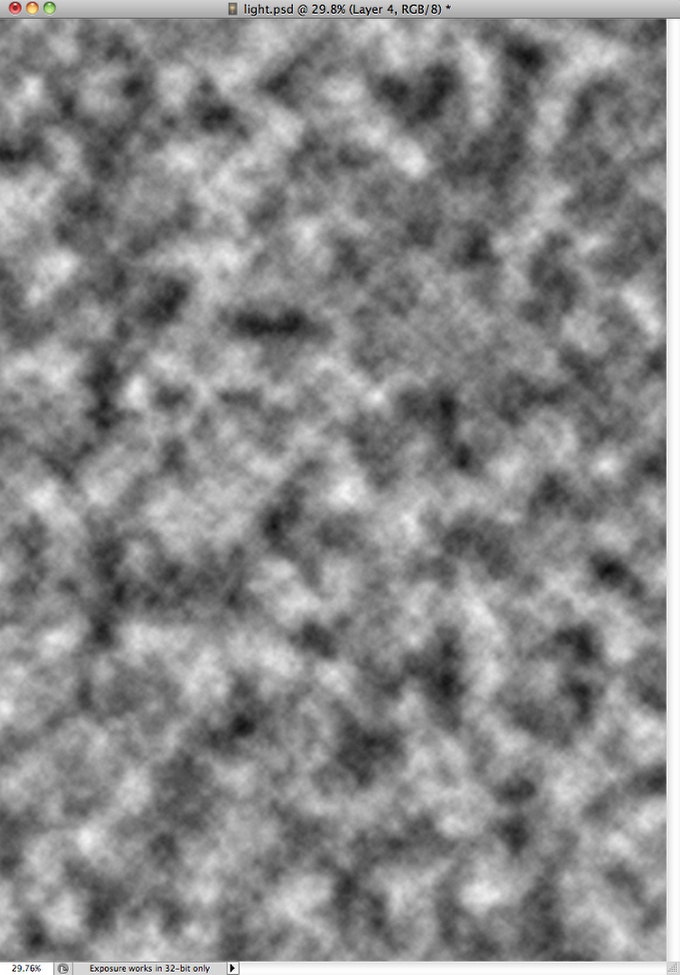
Add a new layer and go to Filter>Render>Clouds. Make sure you had black and white for the background and foreground colors. This layer also will be on top of the others.
Classic Light Effect in Photoshop

Step 11

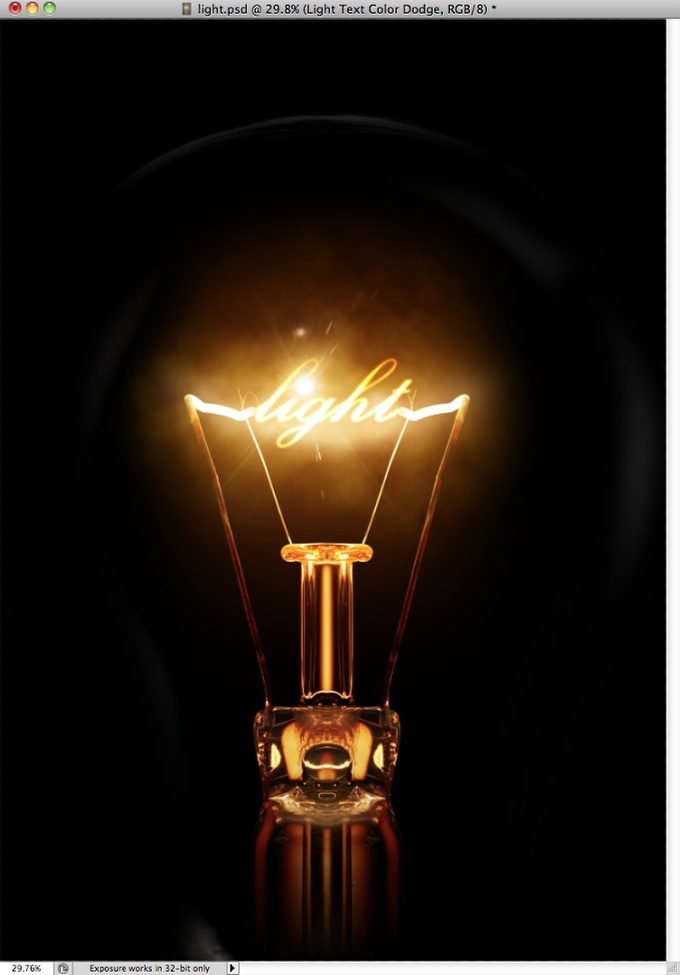
Change the clouds' layer Blend Mode to Color Dodge. After that add a new folder in the Layers Panel and move the clouds layer into it. After that change this folder's Blend Mode to Overlay.
Classic Light Effect in Photoshop

Step 12

Add a new layer inside the folder in which you moved the clouds' layer. Make sure that the new layer is beneath the clouds' layer. After that with the Brush Tool (B) and a very soft brush with #f5d38b paint a round spot in the center of the light effect. Change this layer's Blend Mode to Overlay too.
Classic Light Effect in Photoshop

Step 13

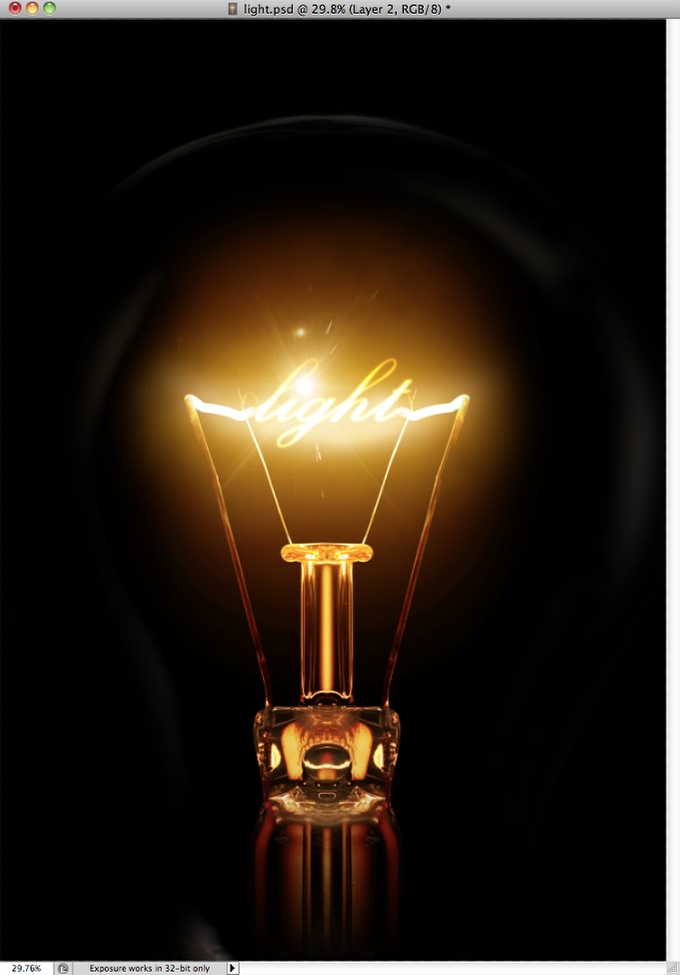
Now add another layer on top of all the others and then with the Brush Tool (B) and a big and very soft brush using white for the color, paint another big spot in the center of the light effect. After that go to Layer>Layers Styles>Color Overlay. Use #ffd648 and Linear Burn. The idea is to make the light a bit stronger.
After this we are done and as you could see, most of the light effects are all about blending colors with photos. The Blend Modes in Photoshop are very powerful for this type of effect and I would recommend you to study more about them, especially the Color Dodge one.
Classic Light Effect in Photoshop

About the author

Abduzeedo is a blog about design. There are all sorts of articles for those who want to look for inspiration. Also you will find very useful tutorials for the most used applications out there, with a special selection of Photoshop Tutorials and Illustrator Tutorials. Of course there are other softwares conteplated like Pixelmator, Fireworks, and web design tutorials.
Read More

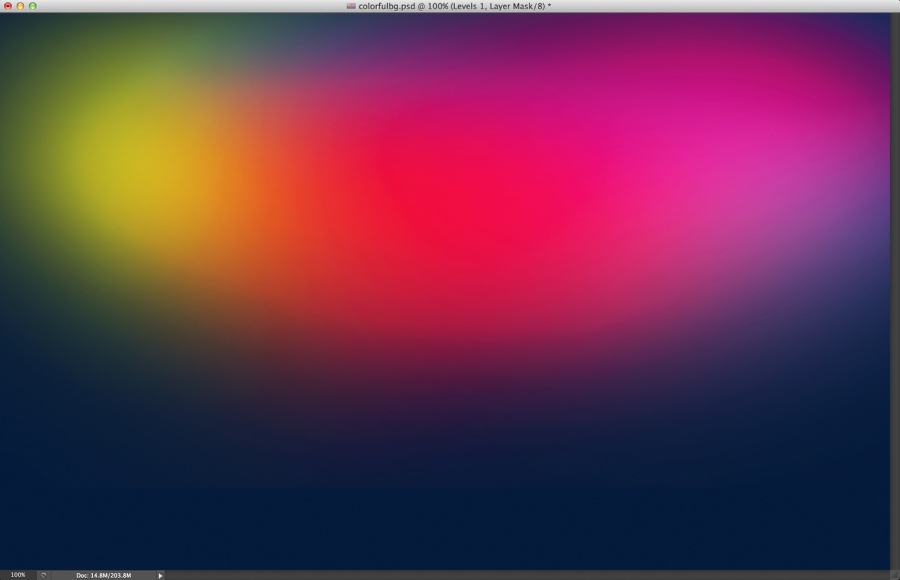
Super Easy Colorful Effects in Photoshop

A few weeks ago I posted artwork I created for a poster inspired by the Man of Steel movie. I used Pixelmator for that project and got quite a few comments and requests about how to achieve the same effect in Photoshop. As Photoshop doesn't have the awesome Vintage filters that Pixelmator now has, I tried emulating the effect using brushes which I will share with you today.


So in this tutorial I will show you how to create a nice colorful background using Photoshop. The whole process is pretty simple and straightforward. One good requirement is to understand a little bit of Color Theory in order to create different color combinations.

Step 1

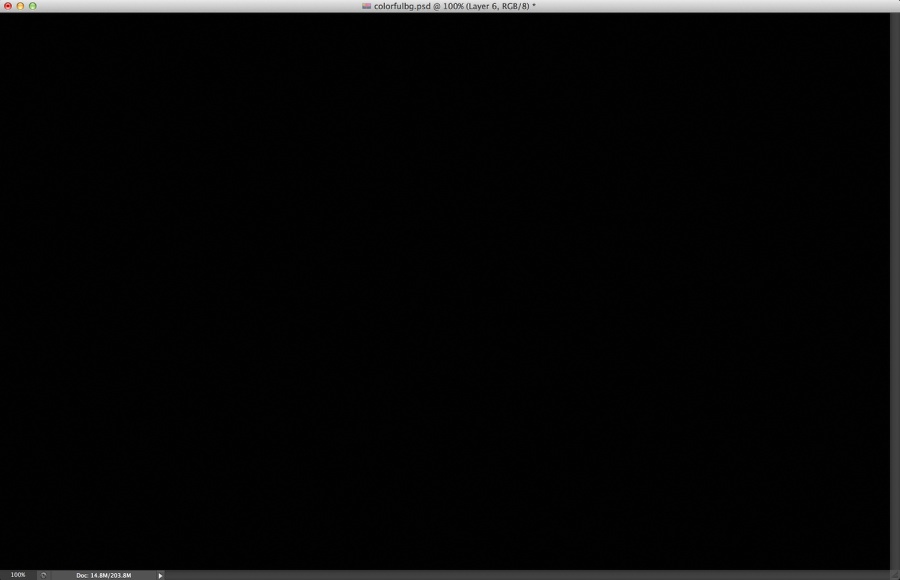
Open Photoshop and create a new document. I am using 2880x1800 pixels. After that fill the background layer with black.
Super Easy Colorful Effects in Photoshop

Step 2

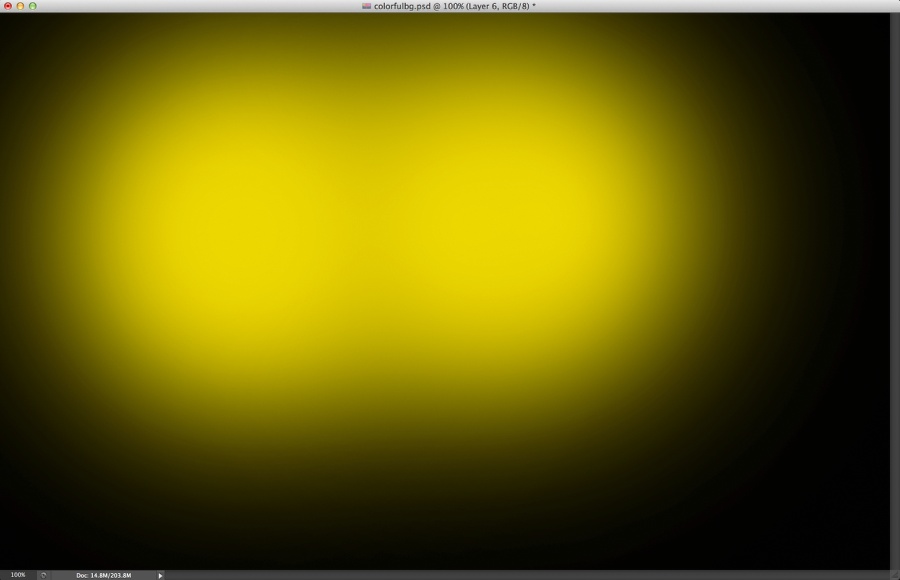
Create a new document and then with the Brush Tool (B) use a very soft brush and then paint some yellow brush spots.
Super Easy Colorful Effects in Photoshop

Step 3

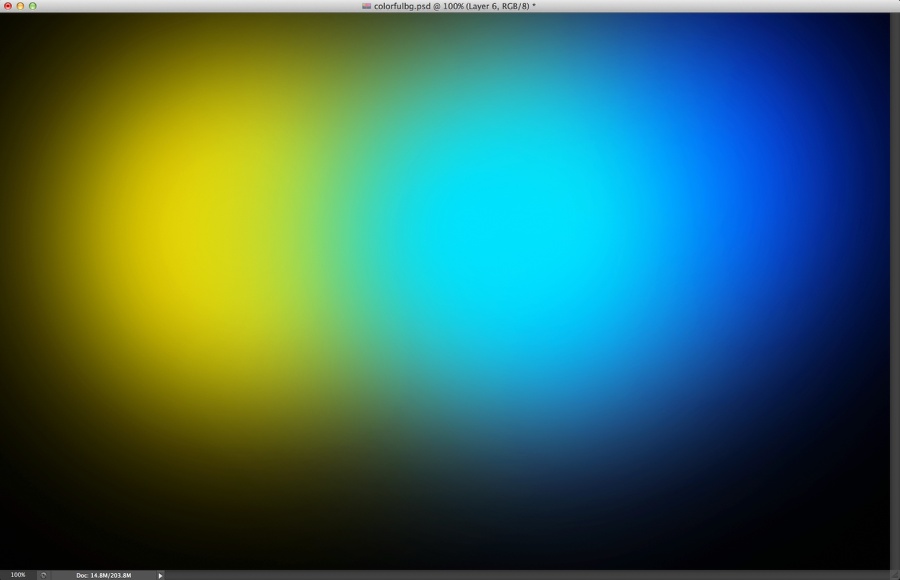
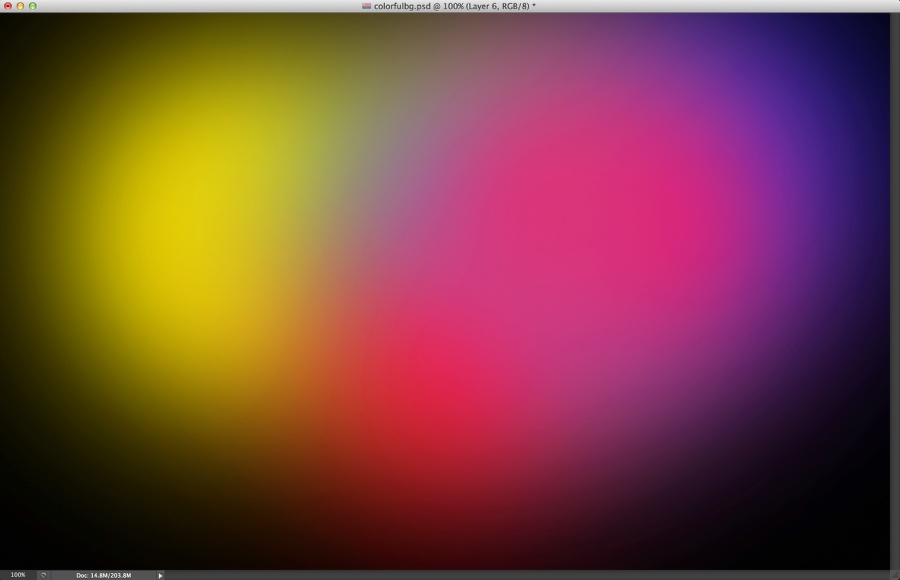
Add another layer and then still with the Brush Tool, paint now a blue spot next to the yellow.
Super Easy Colorful Effects in Photoshop

Step 4

Add another layer and now paint a red spot. Use the image below for reference.
Super Easy Colorful Effects in Photoshop

Step 5

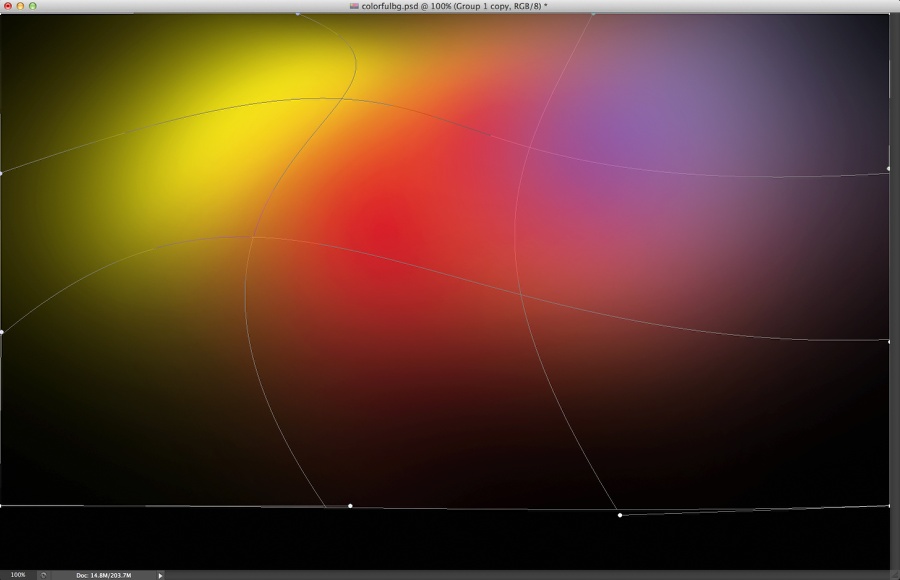
Select the 3 layers and group them. After that convert the group to Smart Objects, Layer>Smart Objects>Convert to Smart Objects. Then go to Edit>Transform>Warp. Deform the mesh in order to make the colors transitions less uniform.
Super Easy Colorful Effects in Photoshop

Step 6

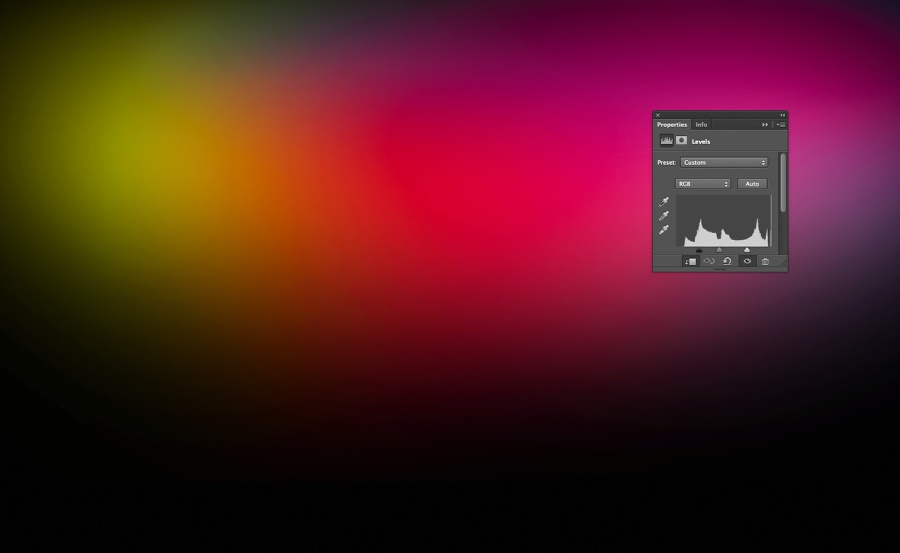
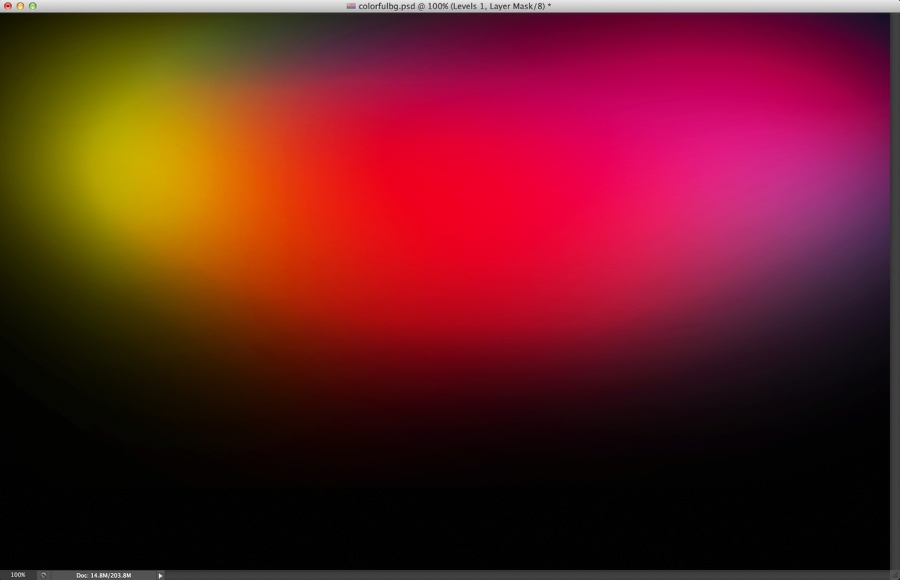
Now resize the image a little bit, only in the height. Make sure the colors are blending well with the background, otherwise use the Eraser Tool (E) to smooth things out. Also go to Image>Adjustments>Levels. Boost the Black and White Inputs to increase the contrast.
Super Easy Colorful Effects in Photoshop

Step 7

Duplicate the layer with the colors and change its Blend Mode to Overlay.
Super Easy Colorful Effects in Photoshop

Step 8

Change the background color to a dark blue like the image below.
Super Easy Colorful Effects in Photoshop

Conclusion

Add your logo and the image is done. There are lots of ways to achieve this effect, this for me is the easiest one, but it's up to you to come up with your own workflow. Remember the most important thing is to have fun.
Read More